GitLive installation
This section will guide you in installing GitLive on your IDE.
Written by Friedrich Coen
Overview
In this quick guide you will learn how to install the GitLive extension into the Visual Studio Code IDE.
Step 1
Locate the Extensions tab
- Launch Visual Studio Code.
- Locate the Extensions icon on the lefthand side of the IDE.
Step 2
Install GitLive
- In the Extensions dialogue type GitLive into the search field.
- Select the GitLive Extension and click Install.

You’re all set!
You should now see the GitLive Logo on your sidebar navigation. This will appear underneath the Extensions icon.

Overview
In this quick guide you will learn how to install GitLive into any JetBrains IDE.
Step 1
Open the Plugins Dialog
- Launch your IDE and click on the IDE’s name menu option.
- Select Preferences.
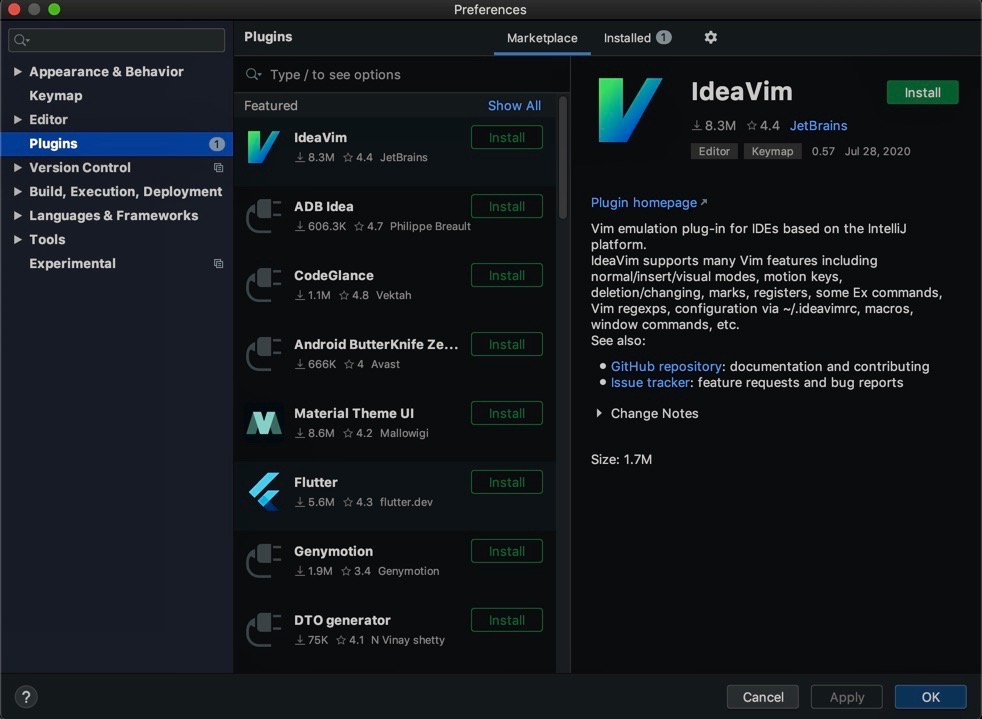
- In the Preferences dialog, click on Plugins.

Step 2
Select the Marketplace tab
- Click into the search bar.
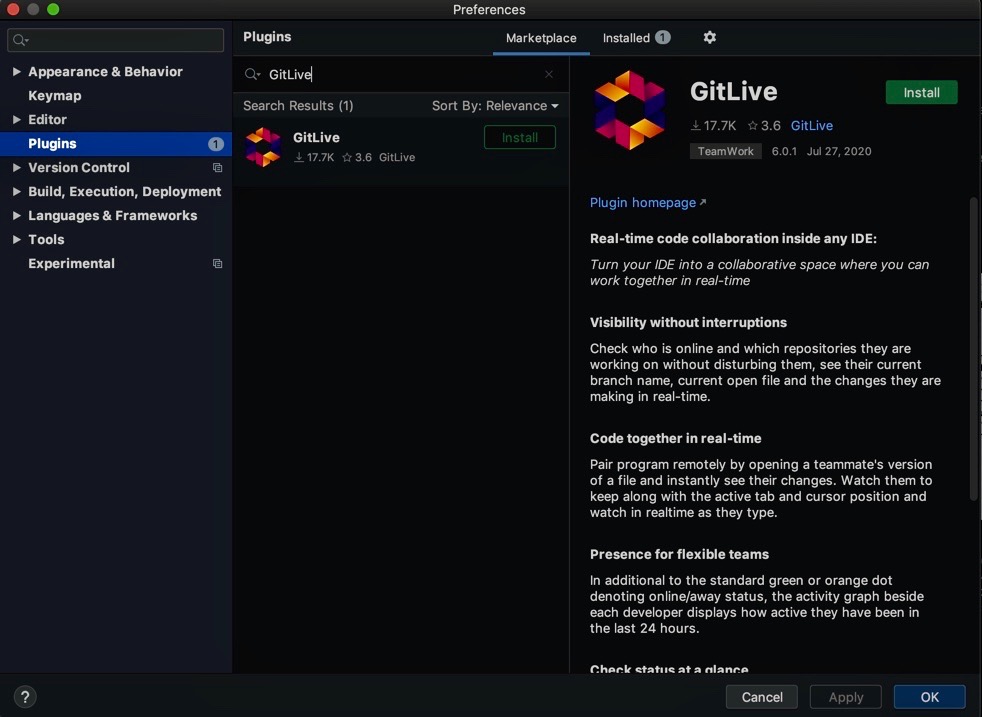
- Type GitLive to bring up the GitLive plugin.

Step 3
Install the GitLive plugin from the marketplace
- Click Install.
Step 4
Re-launch IDE for changes to take effect
- You will be prompted to re-launch your IDE. Click Restart.

You’re all set!
Locate GitLive in the IDE
- Navigate to your IDE. You will now see the GitLive tool window in your sidebar.

Overview
In this quick guide you will learn how to install GitLive into the Android Studio IDE.
Step 1
Open the Plugins Dialog
- Launch Android Studio and click on the Android Studio menu option.
- Select Preferences.
- In the Preferences dialog, click on Plugins.
Step 2
Select the Marketplace tab
- Click into the search bar.
- Type GitLive to bring up the GitLive plugin.
Step 3
Install the GitLive plugin from the marketplace
- Click Install.
Step 4
Re-launch Android Studio for changes to take effect
- You will be prompted to re-launch Android Studio. Click Restart.

You’re all set!
Locate GitLive in the IDE
- Navigate to Android Studio. You will now see the GitLive tool window in your sidebar.
